|
Are you ready to illuminate your home with a touch of personal flair? Undertaking lighting installation can seem daunting at first, but with the right tools, knowledge, and a sprinkle of confidence, you can master the art of DIY lighting like a pro. In this article, we will walk you through the step-by-step process of installing a light fixture in your home, making home lighting installation a breeze. Home Lighting Installation Made Easy with DIY Lighting SolutionsInstalling a new light fixture doesn't have to be intimidating. With the rise of DIY culture and readily available resources, homeowners can now take on home improvement projects like lighting installation with ease. Whether you're looking to update the lighting in your living room, bedroom, or kitchen, DIY lighting solutions empower you to customize your space according to your taste and preferences during the home improvement project. Essential Supplies for Your Home Lighting Installation Project Before diving into your lighting installation project, it's important to gather the necessary supplies. Here's a handy checklist to ensure you're well-equipped:
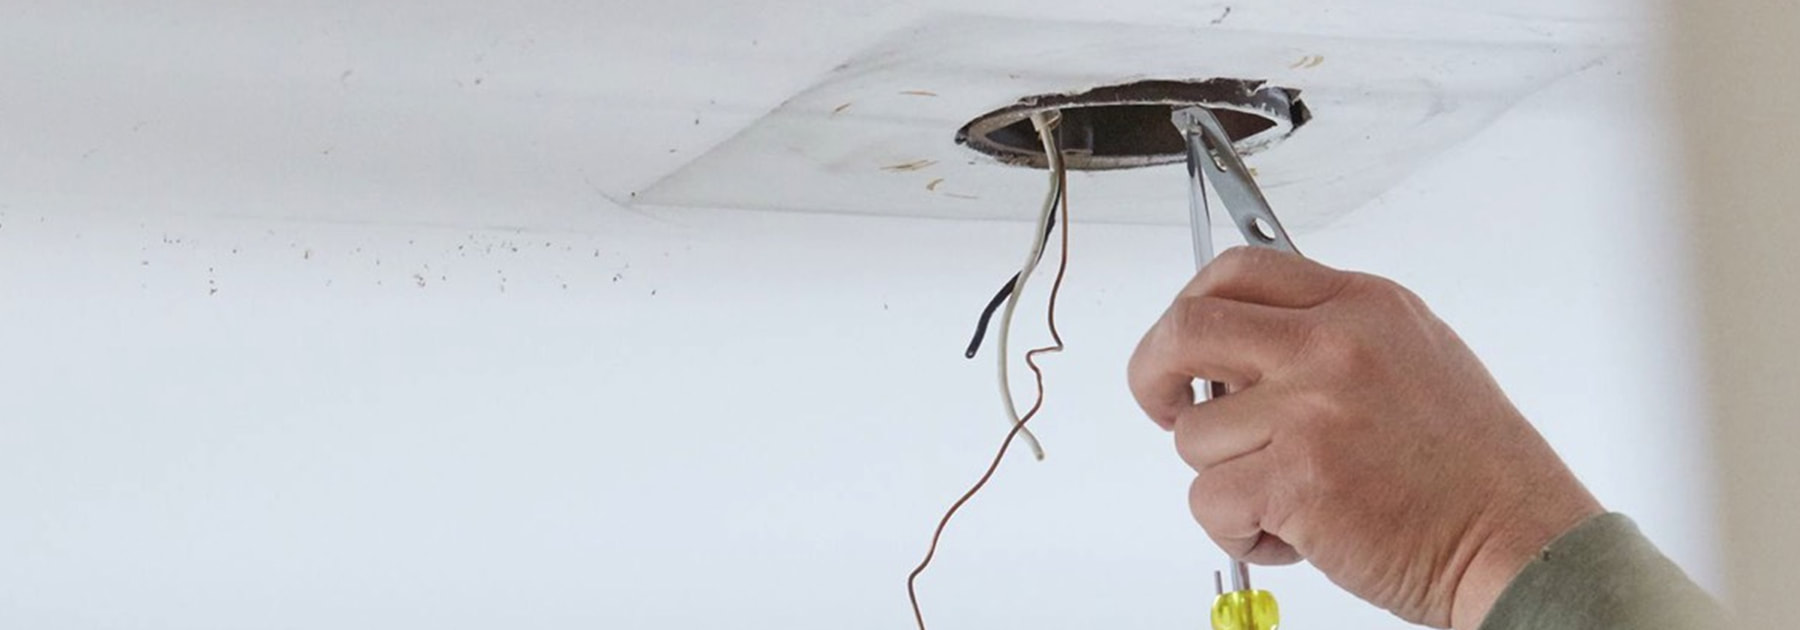
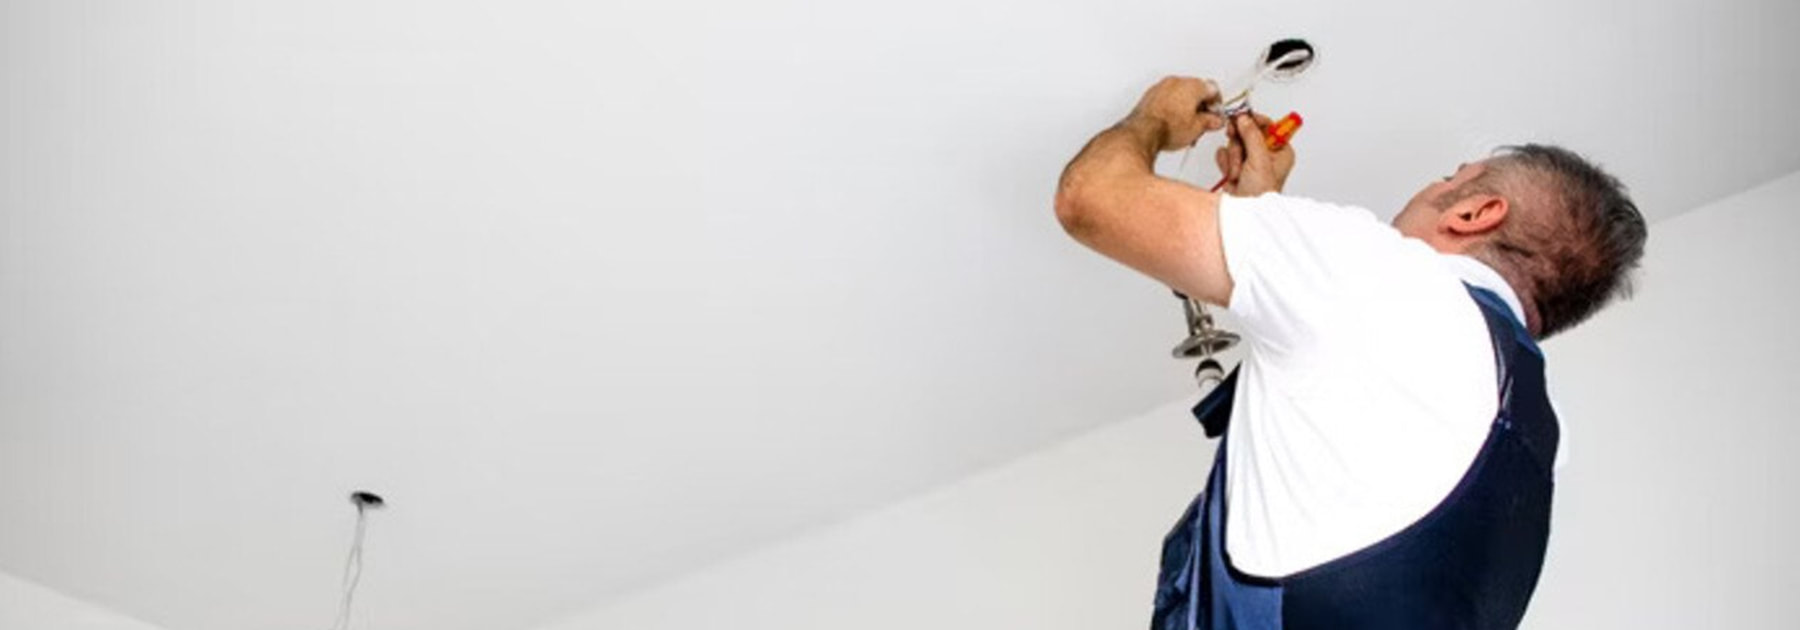
Having these items at your disposal ensures you're well-equipped to tackle the task at hand without any hiccups along the way. Step-by-Step Guide to Installing Your New Light FixtureNow that you have your supplies ready, let's dive into the step-by-step process of installing your new light fixture: Step 1: Turn Off the Power Safety first! Before you begin any work, head to your breaker box and switch off the power to the room where you'll be working. Confirm that the power is indeed off by testing the switches and using a voltage tester on outlets in the room. Taking this precautionary step ensures you're working in a safe environment free from electrical hazards. Sep 2: Remove the Old Fixture With the power safely turned off, unscrew the old fixture. Using a screwdriver, carefully remove the old fixture from the mounting plate in the ceiling. Before disconnecting any wires, snap a quick photo of the wiring configuration. This snapshot will serve as a helpful reference point when connecting the wires to your new fixture later on. Step 3: Examine Your New Fixture Each light fixture comes with its own set of instructions, so take a moment to familiarize yourself with the lighting installation process outlined in the manual. Before proceeding, inspect your new fixture and note the arrangement of its wires—typically black (hot), white (neutral), and green (ground). If needed, use wire cutters to adjust the length of the wires for easier installation. Step 4: Ascend the Ladder and Install With your new fixture in hand and wires prepped, it's time to climb that ladder and get to work! If you're flying solo, this step can be a bit tricky. Hold the fixture in place while connecting the wires together, using wire nuts and electrical tape to secure the connections. If possible, enlist the help of a friend or partner to lend a hand and make the process smoother. Step 5: Secure the Mounting Plate Depending on the design of your fixture, you may need to attach the mounting plate to the ceiling before connecting the fixture. Secure the plate in place, ensuring it catches onto the ceiling securely. If you're tackling this task solo, consider using temporary support to hold the fixture in place while you make the necessary connections. Step 6: Connect the Wires With the fixture in position, it's time to connect the wires. Match the corresponding wires—green to ground, white to neutral, and black to hot—and secure them together using wire nuts. To ensure a secure connection, wrap the wires tightly before applying the wire nuts. Once all connections are made, gently tuck the wires back into the electrical box, keeping them out of the way. Step 7: Attach the Fixture Now comes the moment of truth—attaching the fixture to the mounting plate. Depending on your fixture's design, you may need to twist it onto the plate from below. Take your time and ensure the fixture is securely attached to avoid any mishaps. Once in place, add a lightbulb and any accompanying shades or covers to complete the look. Step 8: Power Up With the fixture securely installed, it's time to restore power to the room and test out your work. Turn on the power and check to ensure the fixture is functioning correctly. If you encounter any issues such as flickering lights or non-functioning bulbs, double-check your connections and troubleshoot as needed. Congratulations, you've successfully installed your new light fixture! But before calling it a day, take a moment to touch up any blemishes on the ceiling caused during the lighting installation. A quick coat of ceiling paint will have your space looking fresh and polished. Conclusion: Let There Be Light!With the completion of your home lighting installation project, you've not only illuminated your home but also gained valuable DIY lighting skills along the way. By following this beginner's guide, you can tackle future home improvement projects with ease.
Whether it's updating your lighting fixtures, refreshing your decor, or embarking on new DIY adventures, remember that with the right tools and mindset, anything is possible. Comments are closed.
|
Archives
July 2024
Categories
All
|
|
7632 Nestucca Trail, Noblesville, IN 46062, United States
Click-To-Call: (463) 217 3568 Email: [email protected] |
Hours of Operation
Mon: 8:00 AM to 6:00 PM
Tue: 8:00 AM to 6:00 PM Wed: 8:00 AM to 6:00 PM Thu: 8:00 AM to 6:00 PM Fri: 8:00 AM to 6:00 PM After Hours and Sat & Sun: Emergency Calls Only |
Find Us On Social Media
|
© 2020 | All Rights Reserved. | Phase 1 Electric
Privacy | Disclaimer | Terms of Service | Cookies Policy
Privacy | Disclaimer | Terms of Service | Cookies Policy


 RSS Feed

